One of the most common questions we hear from those in the property management and construction industries is deceptively simple: how long will this take? Whether the project is a façade restoration, a roof replacement, or a parking garage rehabilitation, the honest answer is that any single stage is only part of the story. The months of planning that come before construction — deciding to act, selecting the right engineer, investigating the problem, and designing the repair — set the tone for everything that follows, and the phases after design carry their own timelines too. Knowing what to expect at each step helps you plan budgets, line up board approvals, and, just as importantly, hit the right construction window. Below is a phase-by-phase look at the full arc, from the moment you suspect a problem through design, permitting, and construction, where our proven process, the Duffy Difference, guides the work to completion.
Phase 1: Deciding to Engage an Engineer
Ideal timeframe: begin 6 to 12 months before you want work in the field. This first step is entirely in The Owner’s hands, and it is often the one that quietly determines whether the rest of the project feels rushed or measured. The decision is usually triggered by something specific such as a persistent leak, spalling concrete, loose masonry, an approaching cyclical inspection deadline, or a reserve study flagging the envelope as a near-term expense.
Our advice is to start the conversation earlier than feels necessary. Boards and ownership groups need time to deliberate, and that internal discussion alone can span weeks to a few months. The exception is a genuine emergency, a fallen piece of masonry or an active safety concern, where stabilization has to happen immediately and this phase compresses to days. Outside of those situations, giving yourself runway here pays dividends at every stage that follows.
Phase 2: Developing the Proposal
Ideal timeframe: one to three weeks. Once you reach out, a qualified engineer will typically want to understand the building before providing a proposal. That can mean a brief preliminary site visit or a detailed conversation about the symptoms, the building’s history, and any prior repairs.
That is the basis from where a thoughtful proposal takes shape. It is worth resisting the urge to rush this step: a well-scoped proposal that clearly defines what will and will not be investigated is far more valuable than a fast one. For larger or more complex properties that have multiple elevations, several roof areas, or a parking structure with limited access, owners should allow a little more time for the engineer to size the effort correctly and if necessary, consult with sub-consultants.
Phase 3: Selecting Your Engineer
Ideal timeframe: two to six weeks. Soliciting more than one proposal is a prudent practice, and we encourage it. The wildcard here is usually not the engineers, it is the approval cycle on Owner’s side. If a board meets monthly or quarterly, that cadence often dictates how quickly a decision can be made, so it helps to align your outreach with your meeting calendar. When you compare proposals, look past the bottom-line number to the scope behind it. A lower fee that skips hands-on access or testing may simply be investigating less, which can cost far more later. The goal is an apples-to-apples comparison of what each engineer intends to look at. Ask the engineer that you have a good relationship with to write the Request for Proposal (RFP) scope, this can help level the numbers without much thought from the Owner’s end.
Phase 4: Completing the Investigation
Ideal timeframe: two to eight weeks, depending on scope and access. This is where the timeline becomes highly project-specific. A common and cost-effective approach is a multi-level one: a preliminary assessment to understand overall condition, followed by more detailed investigation where it is warranted.
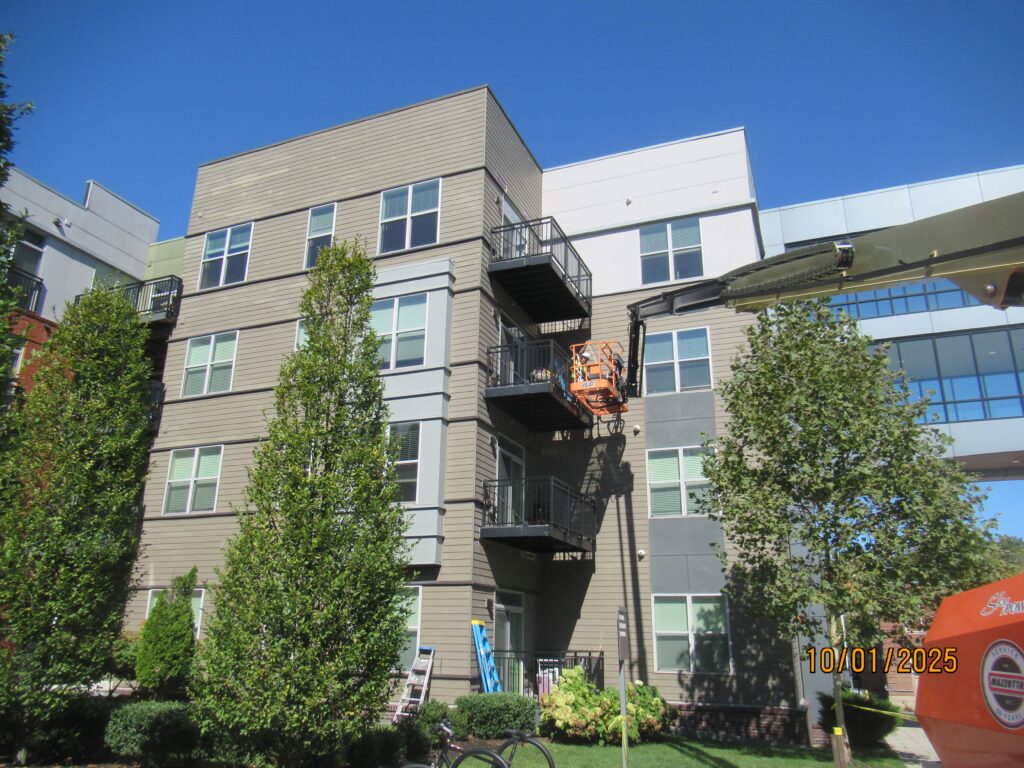
Field work can range from a visual survey to hands-on, close-up examination requiring a swing stage, boom lift, or drone, along with probes, exploratory openings, water testing, or concrete cores for parking structures. Two factors most often stretch this phase: coordinating access (equipment rental, tenant notice, and scheduling) and weather, since water testing and certain repairs need above-freezing conditions. If material samples are sent to a lab, turnaround for those results can add several weeks on its own.
Phase 5: Sharing Results in a Report
Ideal timeframe: two to four weeks after field work concludes. With the investigation complete, the engineer turns observations into a clear, documented report. A strong report does more than list problems: it explains the likely causes of the deterioration, supports findings with photographs, prioritizes what needs attention now versus what can be monitored, and includes an opinion of probable cost (aka a budget) so you can plan realistically.
Understanding cause rather than symptom is central to a durable repair and often dismisses “value engineering” efforts before they begin since those often only address the symptom. This document becomes the foundation for every decision that follows, so it is worth giving the engineer the time to get it right.
Phase 6: Design
Ideal timeframe: several weeks to a few months, depending on scope (avg is 4-6 weeks). Once you decide to move forward with repairs, the project shifts from diagnosis to solution. Design translates the report’s recommendations into drawings and specifications detailed enough to bid accurately and build correctly. Time invested here directly reduces surprises, change orders, and delays once construction begins.
Phase 7: Bidding and Contractor Selection
Ideal timeframe: four to eight weeks. With construction documents in hand, the work goes out to a set of qualified contractors. A typical bidding phase includes a pre-bid walkthrough so bidders see the conditions firsthand, a window for questions and clarifications, and then the return and leveling of bids to make sure you are comparing them on equal footing. As with selecting an engineer, the lowest number is not automatically the best value. Scope, schedule, and a contractor’s relevant experience all matter. Board or ownership approval of the selected contractor can add time, so it is worth anticipating that step in your calendar. This step usually includes a back and forth on contract terms and checking insurance policies as well. If the project is in New York State, your attorney and or insurance consultant should check that the Contractor does not have any “at height” restrictions. This is also the stage in which you will want to finalize any access agreements that may be necessary to start the project. That process alone can hold up a project for a year if both sides aren’t working together.
Phase 8: Regulatory Filing and Permitting
Ideal timeframe: highly variable — weeks to several months. Depending on the jurisdiction and the building, the project may require permits from the local buildings department (such as ISD or DOB), review by a landmarks or historic-preservation commission for designated buildings and districts, approvals from the DOT for sidewalk sheds and street or lane closures, and coordination with agencies like the MTA or MBTA when work sits near transit infrastructure. These reviews can frequently run in parallel with design and bidding, but some such as landmarks approval in particular can add months on their own. The single best way to protect your schedule is to identify filing requirements early, ideally during design, so nothing surfaces as a surprise at the finish line.
Phase 9: Construction and Construction Administration
Ideal timeframe: spans the full construction period. Once permits are in hand and a contractor is on board, construction begins and our involvement continues throughout it. Construction administration is the engineer’s ongoing role during the build: reviewing submittals and shop drawings, answering the contractor’s questions in the field, conducting periodic site observations to confirm the work matches the design intent, reviewing payment applications, and seeing the project through punch list and closeout. This oversight is what keeps a project true to the documents you invested in, catching issues while they are still easy to correct rather than after the scaffolding comes down.
Planning for the Full Timeline
Add these phases together and the runway from the moment you decide to act to the day construction begins commonly spans six months to a year. That is not wasted time; it is the difference between a project that hits its intended construction season and one that slips a full year waiting for the next weather window. Regulatory filing is the variable most likely to move that date, so tackle it as early as possible. The single most effective thing you can do is start ahead of schedule and give each phase the room it needs, and the construction that follows will be smoother, more predictable, and better value for your building.
Kevin M. Duffy
Principal
Duffy Engineering